Draw a Circle in Gcode
G Lawmaking Example: How to Run Your First CNC Plan
Congratulations, you automobile is under its own ability. Past now you have spent some time jogging the machine around using the keyboard or the buttons on Universal G-Code Sender. This is all well and good, simply the real ability of your CNC auto lies in its ability to run long circuitous gcode programs. The following is a step by pace guide on how to run a CNC program. We even include a gcode case program to run that volition draw a circle. If you don't take your motorcar running only however and would like some guidance, check out How to setup your Arduino CNC Machine.
G Code Example
The post-obit is exactly what is saved in the circle.nc file. Click the link below to download the file.
Download the g code example file
G17 G20 G90 G94 G54
G0 Z0.25
X-0.5 Y0.
Z0.1
G01 Z0. F5.
G02 X0. Y0.v I0.five J0. F2.v
X0.5 Y0. I0. J-0.5
X0. Y-0.5 I-0.5 J0.
X-0.5 Y0. I0. J0.5
G01 Z0.i F5.
G00 X0. Y0. Z0.25
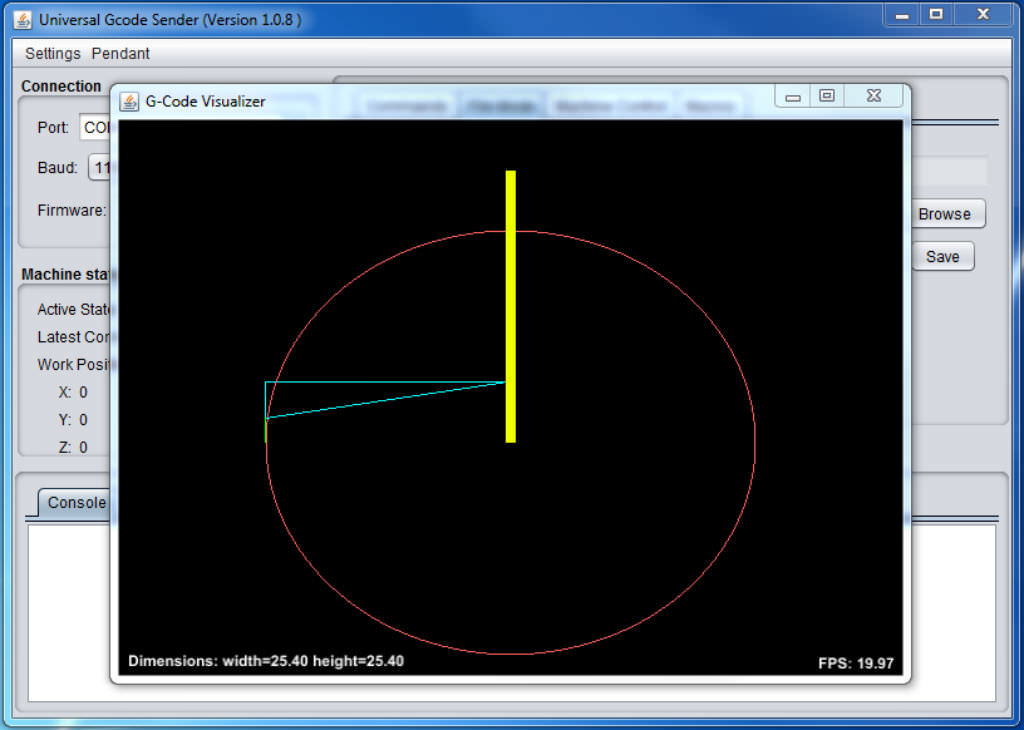
This uncomplicated program volition depict a 1" diameter circumvolve about the origin. Use this program to exam your CNC motorcar and confirm your centrality directions are set up correctly.
Note all gcode programs a simple text files save with a ".nc" extension. Y'all tin open the "circle.nc" file downloaded above in a text editor like Notepad. You can besides copy and past the in a higher place lines into a text editor and create your very own CNC program. Only save the file with a .nc extension.
Start Here
Employ the following steps to run the program… If you lot are more of a visual learner, scroll down and click on the video below for walk through of the procedure.
1. Load a marker into the spindle (Keep the spindle off!) Markers work better than pens or pencils because the tip is softer and more forgiving. As well setup a slice of paper or other material on which to describe about the center of your machine's work envelop.
2. Power on your machine
3. Connect to the machine with Universal gCode Sender
Ready Your Nix Position
4. Jog (motility) the spindle to the center of your machine tabular array
a. Under the "Machine Control" Tab enter ".1" into the "Footstep Size" box & press enter
b. Ensure "inches" is selected
c. Utilize the Ten+,Ten-,Y+ and Y- buttons to move the machine close to the heart of your work tabular array (You can also use the arrow keys on the keyboard)
d. Press the "Reset X Axis" push button (This tells the machine to call back this position as your X nix location)
e. Press the "Reset Y Axis" button (This tells the machine to remember this position as your Y goose egg location)
f. Now slowly utilise the "Z-" button to lower the marking tip. When the marker tip gets close to the paper, stop.
g. Conform the "Step Size" to .01 (Remember to hit enter afterward you lot enter your value)
h. Go on lowering the marking until it touches the newspaper by borer the "Z-" button.
i. Press the "Reset Z Centrality" push button (This tells the machine to call back this position as your Z zero location)
j. Retract the marker from the newspaper using the "Z+" button. Go at to the lowest degree .1" above the newspaper. This is equal to 10 clicks of the "Z+" button when your pace size is set to .01
Load the CNC Programme
5. Ok, at present the machine is nearly set up.
half dozen. Go to the "File Mode" tab
vii. Select "Browse" and search for the "circumvolve.nc" file (If y'all accept non downloaded the file click here )
8. Click "Open"
ix. The next button press volition transport the "circle.nc" g Code program to your car and it will starting time to motility. As soon as I hit "Send" I like to motion my mouse cursor over the "Pause" push button. If anything goes wrong, all I have to practice is click the mouse to stop the program since it'southward over the pause push button.
10. This is for all the marbles. Click the "Send" button.
eleven. The car volition start moving.
a. First, it will motion the Z axis to .25"
b. Next, the machine will move to Ten = -0.five and Y = 0.0 (Notation the marker should not be touching the paper still)
c. Now the car will lower to Z = 0.0 and then marker should touch on the paper)
d. The machine volition slowly draw a clockwise circle.
e. When the circle is consummate, the motorcar volition motility the Z axis up to .ane"
f. At present that machine will return to the X & Y zero position.
thou. Finally the z axis volition movement back up to the original .25" starting position.
Video Walk Through
Click here to spotter the video on YouTube.
Decision
That'southward it! You lot just ran your first CNC program. As yous run more than programs, this process will go second nature. Again you tin download the g code example by clinking the link below.
Download the 1000 code example file
If you meet any problems, contact me at tim@diymachining.com or in the comment department.
What CNC program are you going to run side by side? Exit a comment and let me know.
Cheers for reading. Until next fourth dimension…
Tim
P.Due south.
Now that your auto is running, check out the following options for tooling. Note, these are affiliate links and DIY Machining earns a commission if you purchase using the links below. Still, there is no boosted price to y'all.
Source: https://diymachining.com/g-code-example/
0 Response to "Draw a Circle in Gcode"
Post a Comment